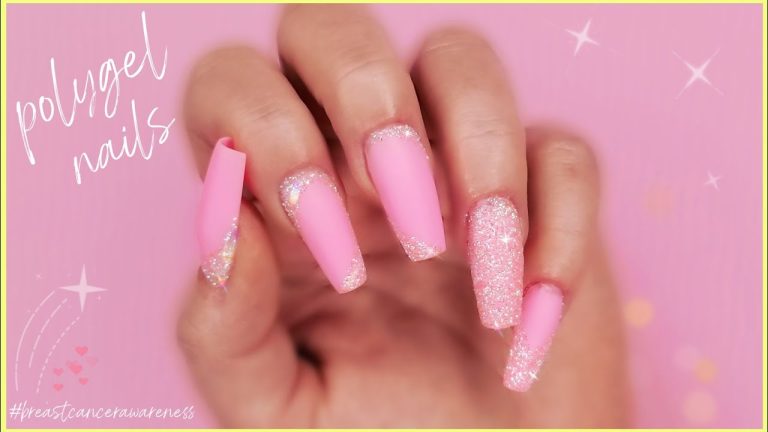


There‘s something undeniably captivating about a pink French manicure. It takes the classic, clean look we all know and love and infuses it with a soft, feminine charm. The versatility of pink French tips allows them to complement various personal styles and outfits, making them suitable for everyday wear as well as special occasions like weddings and parties. Whether you choose a delicate baby pink for a subtle look or a vibrant magenta to make a bold statement, this style is a beautiful way to express your personality while keeping your nails looking chic and polished.
The Allure of Pink French Nails
So, why has this style become such a beloved staple? For many of us, a pink French manicure feels both modern and timeless. It‘s a subtle splash of color that works beautifully for any occasion, from a day at the office to a night out. Unlike stark white tips, pink tips offer a softer, more romantic contrast, creating a look that is elegant yet playful. It’s versatile, often described as the ‘your nails but better‘ finish that elevates any outfit without trying too hard.
Selecting the Perfect Pink Polish
Choosing the right shade of pink is key to achieving your desired look. The market offers a wide spectrum:
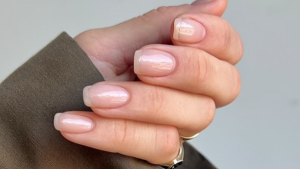
- Sheer and Jelly Pinks: These are translucent, “jelly-like” formulas that create a soft, natural gradient when layered. They are excellent for the popular “Jelly Sandwich” technique, where a sheer pink is applied over a white tip to soften the contrast.
- Creams and Pastels: These offer more opacity, creating a solid, smooth base. They are ideal for a clean, classic finish.
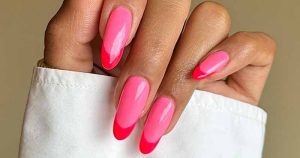
- Vibrant and Neon Shades: For a bold, fashion-forward twist, hot pinks or neon hues can make your French tips pop.
It’s best to choose a shade that complements your skin tone. A good rule of thumb is to try a few different shades near your hand to see which one looks most harmonious.
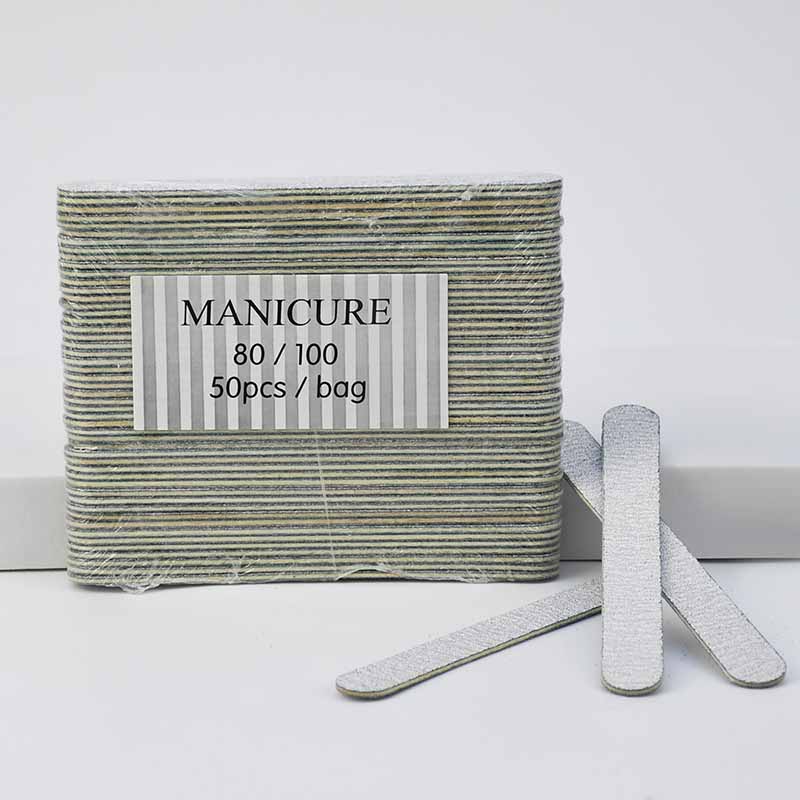
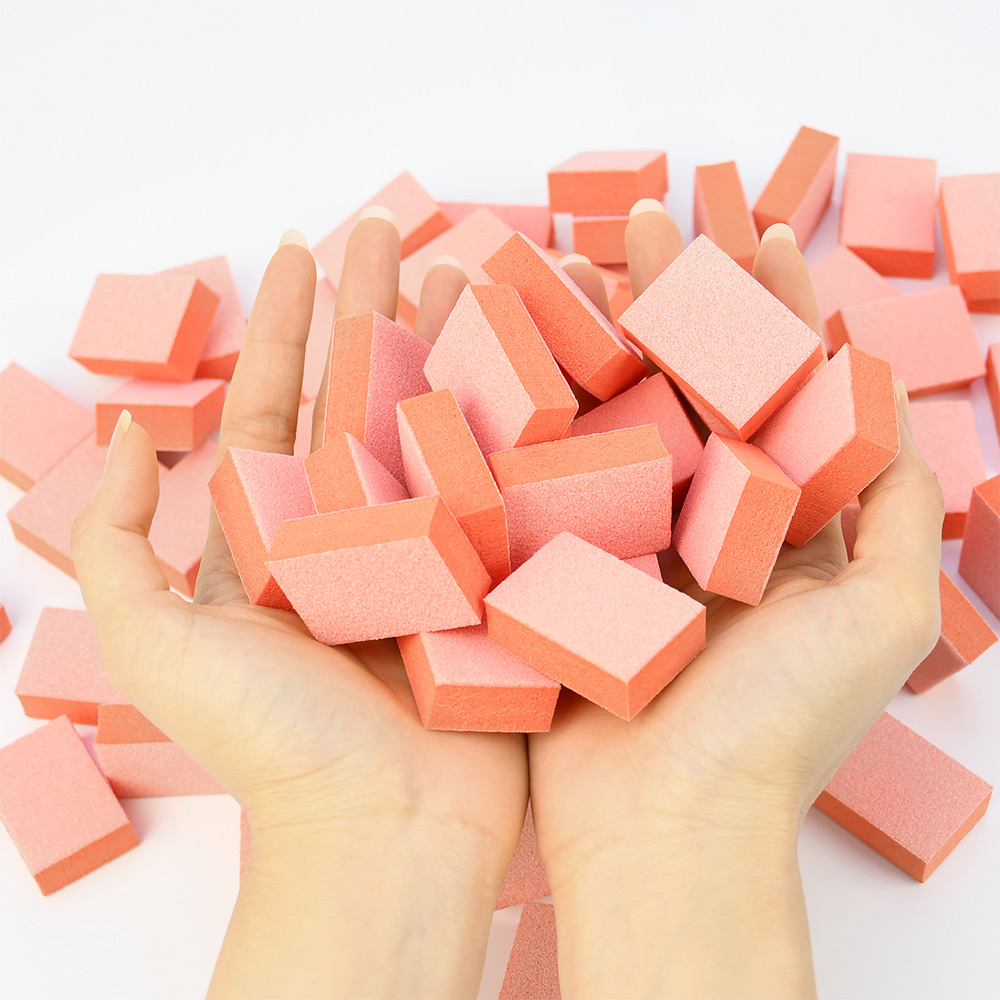
Essential Tools for a Perfect DIY
Before you start painting, gathering the right supplies will set you up for success:
- Nail File and Buffer: A gentle 180-grit file for shaping and a fine buffer for smoothing.
- Cuticle Pusher & Nippers: For healthy nail prep.
- Base Coat & Top Coat: A ridge-filling base coat is beneficial, and a high-shine, quick-dry top coat is essential for longevity.
- Sheer Pink & White Polish: The star of the show. Opt for an off-white or soft white for a more modern look rather than a stark, chalky white.
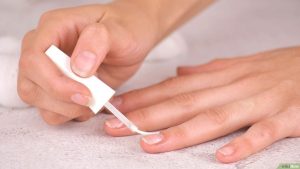
- Cleanup Brush & Acetone: A small, angled brush dipped in acetone is your best friend for fixing mistakes and sharpening your smile line.
- French Manicure Guides: Stickers or stencils that help create the perfect smile line if you are learning freehand.
Don‘t forget cuticle oil; regular moisturizing of the cuticles prevents brittleness and keeps your manicure looking fresh.
Step-by-Step: How to Apply a Pink French Manicure
Here’s a reliable DIY method to achieve a professional finish at home:
Step 1: Prepare Your Nails
Start with clean, dry hands. Remove any old polish, then shape and gently push back your cuticles. Lightly buff the nail surface to remove its natural shine; this gives the polish something to grip onto. Finally, wipe each nail with isopropyl alcohol to remove any dust or oils, which is critical for long wear.
Step 2: Apply the Base Coat
Apply a thin, even layer of your base coat to every nail. Be sure to “cap the free edge” by running the brush along the tip of the nail to seal it, which helps prevent chipping.
Step 3: Apply the First Pink Layer
Apply one thin coat of your chosen sheer pink polish. Don‘t worry if the first coat looks a little streaky; subsequent layers will even out the color. Cap the free edge again and allow it to dry completely.
Step 4: Create the French Tips
This is the signature step. Using the polish bottle’s brush, wipe almost all the polish off one side. Place the brush at one corner of your nail tip and gently sweep it across to the other side. For more control, use a fine nail art brush. If you are using nail guides, apply them just below where you want the white tip to begin.
- The “Jelly Sandwich” Trick: For the most professional-looking result, try layering another coat of your sheer pink polish over the white tip once it has dried. This technique (known as the “Jelly Sandwich”) diffuses the hard edge of the white tip, blending it seamlessly into the pink base for a sophisticated, gel-like finish.
Step 5: Clean Up and Finish
Dip your small angled brush in acetone and carefully clean up any polish that has strayed onto your skin or cuticles to perfect the smile line. Finally, seal your masterpiece with a high-shine, quick-dry top coat, remembering to cap the free edge one last time.
Pro Tips for Extended Wear
To keep your manicure looking fresh for up to two weeks or more, there are a few extra steps worth taking.
- Adopt a Protective Routine: Wear gloves when doing dishes, cleaning, or gardening to shield your nails from harsh chemicals and detergents. Apply cuticle oil several times a day to keep the area hydrated and prevent brittleness, and reapply a thin layer of top coat every few days to maintain shine and protect against chipping.
- Invest in High-Quality Products: Use a chip-resistant, long-wear top coat and base coat. For even better durability, consider using a gel polish system that cures under a UV/LED lamp; however, remember this requires a proper lamp and specific removal techniques.
- Plan Your Schedule: Allow adequate drying time between coats and after your final top coat. Rushing this step is the most common cause of smudging, bubbling, and premature chipping.
The pink French manicure is more than just a nail trend; it‘s a timeless style that lets your creativity shine while keeping your look effortlessly elegant. With the right tools, a little patience, and the “Jelly Sandwich” trick in your back pocket, you can achieve a stunning, long-lasting pink French manicure right from your own home.
Read also: The Complete Guide to Base Coats: The Foundation of Every Great Manicure