
I learned this lesson the hard way.
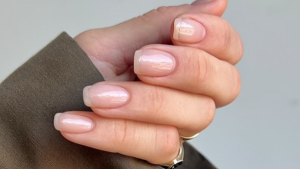
My first real attempt at a DIY manicure involved three coats of a gorgeous deep burgundy polish. It looked perfect for exactly six hours. Then I woke up to find my nails stained orange-yellow, the color already chipping at the edges, and the whole thing looking like I’d been digging through archaeological sites.
The problem wasn’t the polish. It was what I’d skipped: the base coat.
A friend who’d worked as a nail educator for a major brand watched my tragedy unfold and said something I’ve never forgotten: “You wouldn’t paint a wall without primer. Why would you paint your nails without base coat?”
She was right. And now, after years of testing and talking to professionals, I’m going to tell you everything about this most underrated step in nail care.
What Actually Is a Base Coat?
Let’s start with the basics.
A base coat isn’t just “clear polish.” It’s a specialized formula designed to do three things: adhere to your natural nail, create a smooth surface for color, and protect your nail from staining and damage.
Think of it as double-sided tape. One side grips your nail plate. The other side grips your polish. Without it, your polish is just sitting on top of your nail with nothing really holding it there.
Most base coats contain ingredients that help them bond with keratin (your nail’s main protein), plus sometimes nourishing additives like vitamins or strengthening agents.
Why Using a Base Coat Changes Everything
I interviewed Maria, a nail technician in Chicago who’s been doing manicures for 18 years. She put it bluntly:
“I can tell immediately which clients use base coat at home and which don’t. The ones who don’t have stained nails, more chips, and weaker nail plates. It’s the cheapest insurance you can buy for your manicure.”
Here’s what a good base coat actually does:
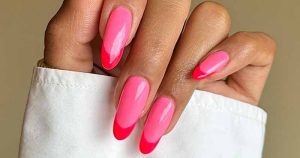
It prevents the dreaded yellow stain. Dark polishes—especially reds, blues, and purples—contain pigments that soak into your nail plate. Once that stain sets, it takes weeks to grow out. Base coat creates a barrier.
Polish lasts twice as long. The adhesive properties give your color something to grab onto. Without it, polish lifts at the edges and chips faster. In my own testing, base coat added 3-4 days of wear.
Your nail surface becomes smooth. If you have ridges or texture, base coat fills them in so your color goes on evenly. No more patchy, uneven manicures.
Some formulas actually help your nails. Many base coats now include strengthening ingredients like keratin, calcium, or silk proteins. They don’t cure weak nails overnight, but they help protect them during growth.
How to Prepare Your Nails Before Base Coat?
Here’s where most beginners rush. They wash their hands and start painting. Bad idea.
The prep work determines everything. Take these steps seriously:
Step 1: Remove all old polish completely. Any residue left behind creates bumps and prevents adhesion.
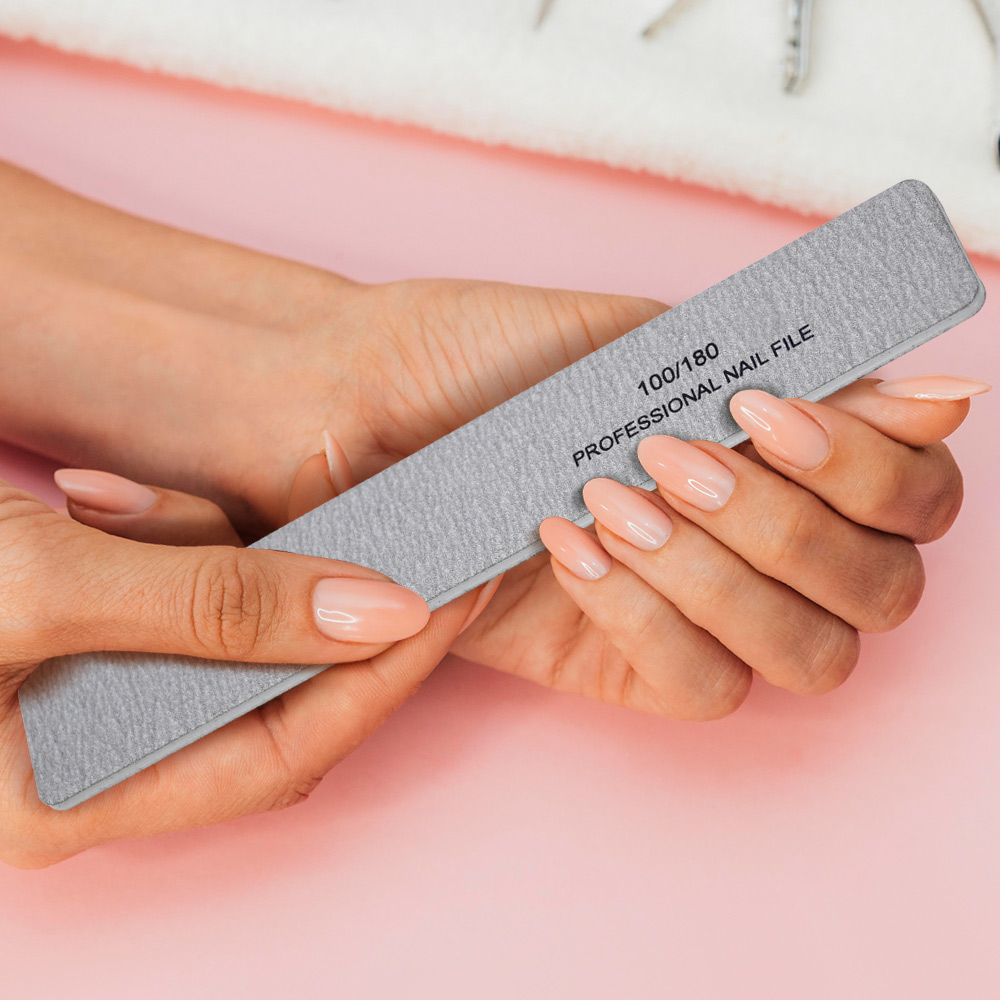
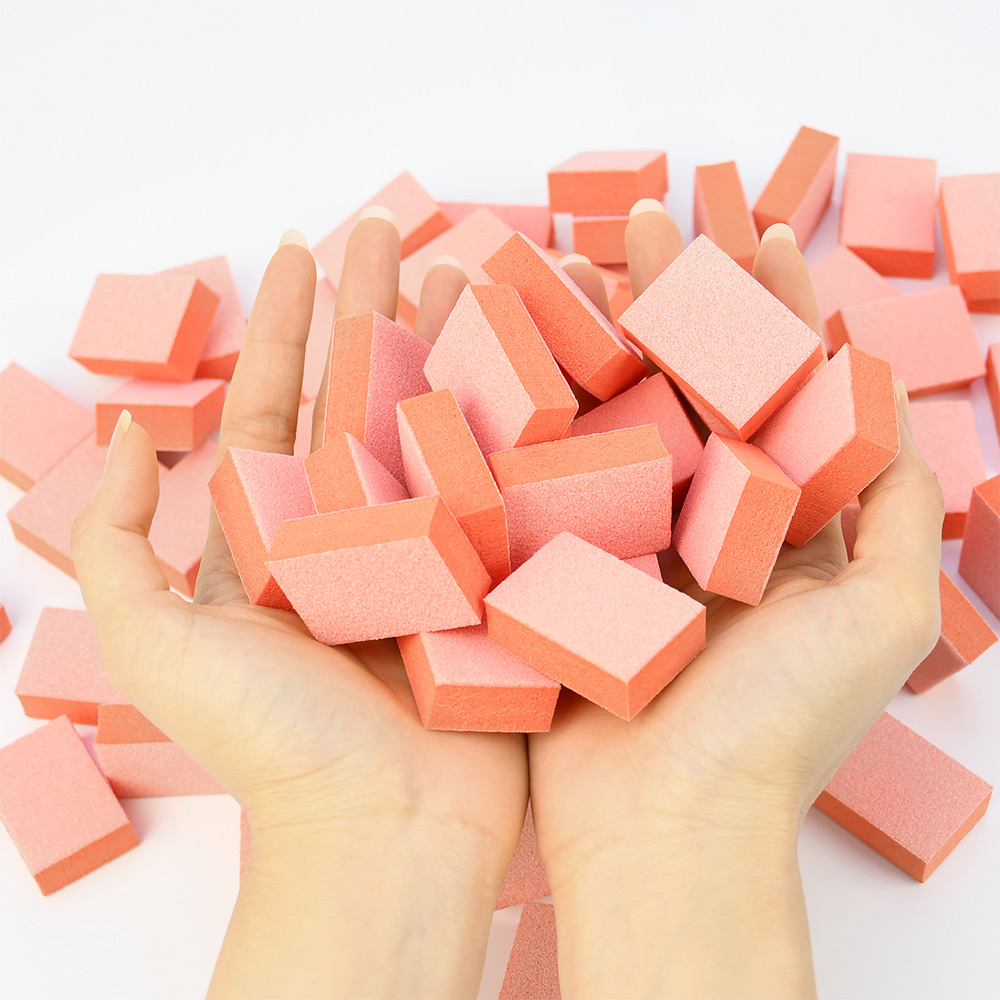
Step 2: Shape and buff lightly. File your nails with a fine nail file to your desired shape. Then gently buff the surface—just enough to remove shine, not enough to thin the nail. You want a slightly textured surface for the base coat to grip.
Step 3: Cleanse thoroughly. This is the step everyone skips. Use a cotton pad with rubbing alcohol or nail cleanser to wipe every nail. You’re removing natural oils, dust, and any residue from buffing. If your nails feel slippery after lotion or cuticle oil, the base coat won’t stick.
Step 4: Don’t touch your nails after cleansing. Finger oils transfer instantly. Keep your hands still until you’re ready to apply.
The Tools You’ll Need
You don’t need much, but what you have matters:
- Base coat: Obviously. Choose one suited to your nail type (more on that below).
- Nail cleanser or rubbing alcohol: For that final degreasing step.
- Lint-free wipes: Cotton balls leave fibers behind. Lint-free wipes keep the surface clean.
- Cuticle pusher and trimmer: Prep the nail bed properly so base coat reaches the whole nail.
- Nail buffer: A gentle buffer (like 240 grit) for that light surface texturing.
A nail educator once told me: “The five minutes you spend prepping determines whether your manicure lasts five days or five hours.” She wasn’t exaggerating.
How to Apply Base Coat Correctly?
This sounds obvious, but technique matters:
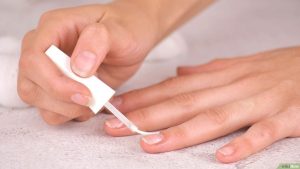
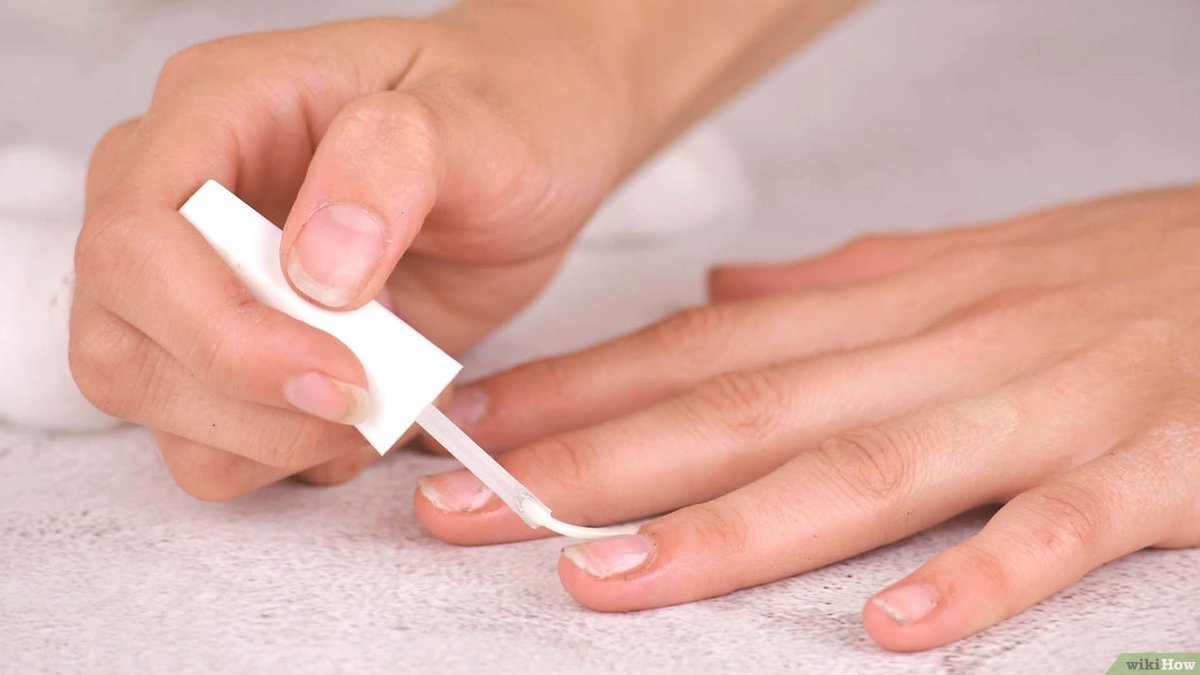
Apply a thin layer. Thick base coat takes forever to dry and can shrink as it cures, pulling away from the edges. One thin, even coat is plenty.
Cover the whole nail. Go edge to edge, including the tip. Cap the free edge by running the brush along the very end of your nail. This seals the tip and prevents chipping.
Let it dry completely. Base coat should be touch-dry before you apply color. If it’s still tacky, your color application will pull and streak. Give it 2-3 minutes minimum.
Don’t skip the waiting period. I know you’re eager to get to the color. Waiting is boring. But rushing creates bubbles, smudges, and poor adhesion.
How to Choose the Right Base Coat for Your Nails?
Here’s where things get specific. Not all base coats are the same. Your nail type determines what you need.
For normal, healthy nails:
A basic clear base coat works fine. Look for one labeled “sticky” or “rubberized”—these have extra grip for longer wear.
For weak, peeling, or brittle nails:
Choose a strengthening base coat with ingredients like keratin, calcium, or hydrolyzed silk. These add temporary support while your natural nail grows out. Note: they won’t fix underlying health issues, but they help prevent further damage.
For ridged or uneven nails:
Look for a ridge-filling base coat. These are slightly thicker and contain ingredients that settle into grooves, creating a perfectly smooth surface. Your color will look professionally applied even over bumpy nails.
For oily nail beds:
Some people’s natural oils break down polish faster. A “sticky” base coat or one specifically formulated for oily nails helps. Avoid ridge fillers—they can slide around on oily nails.
For nail polish stainers (frequent dark color users):
Look for a stain-blocking base coat, sometimes tinted slightly blue or milky. These create an extra-strong barrier against pigments.
Common Base Coat Mistakes
Skipping it entirely. Obviously. You’re reading this, so you know better now.
Using old, thickened base coat. When it gets gloopy, it doesn’t apply evenly. Replace every 6-12 months.
Applying on un-prepped nails. Oily, dusty, or lotion-covered nails reject base coat every time.
Using it as a top coat. Different formulas. Base coat is designed to grip; top coat is designed to shine and seal. They’re not interchangeable.
Applying too thickly. Thin layers dry properly and adhere better. Thick layers shrink and peel.
The Bottom Line
Base coat isn’t an optional luxury. It’s the difference between a manicure that lasts days and one that disappoints by dinner. Between stained nails and healthy-looking ones. Between frustrated DIY attempts and results that look professional.
Your nails do a lot for you. They type, cook, hold things, and wave at people. Spending two extra minutes to protect them and make your polish look better?
That’s not extra work. That’s just treating your hands with respect.
Read also: Your Guide to Polygel: The Secret to Salon-Perfect Nails at Home