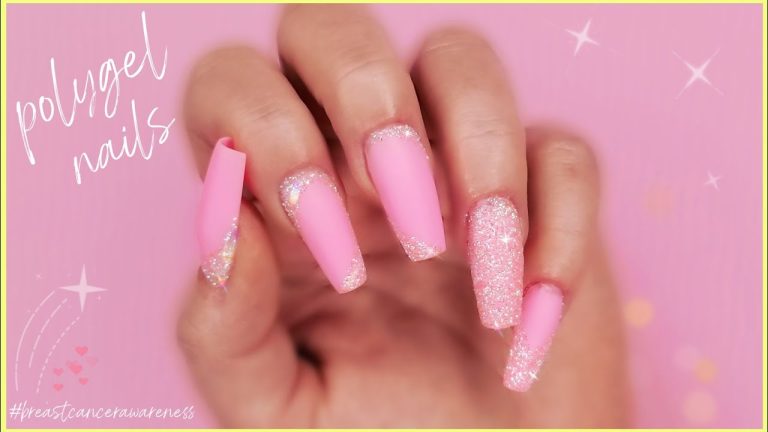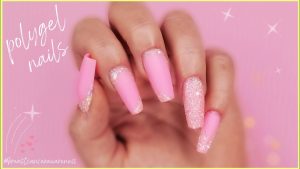


Tired of brittle nails but intimidated by acrylics? Want the durability of gel without the harsh chemicals? Meet Polygel, the revolutionary nail enhancement that’s taking the beauty world by storm. It’s a hybrid formula, combining the best features of acrylic and hard gel. It’s lightweight, incredibly strong, and, best of all, much easier to apply than its predecessors.
This guide will walk you through everything you need to start your Polygel journey, from prepping your natural nail to the final, glossy finish.
Part 1: Gathering Your Polygel Toolkit
Before you begin, you need the right products. A manicure kit makes the process smooth and professional.
1. Polygel in Your Chosen Color: This is the star of the show. It comes in a tube and has a putty-like consistency. You can find it in clear, translucent, pink, and a rainbow of solid colors.
2. Nail Forms or Dual Forms:
- Nail Forms (Paper Stickers): These are stickers you place under the free edge of your nail to build an extension. They offer a fully customizable fit and shape. Great for experienced users.
- Dual Forms (Clear Plastic Tips): These are the most beginner-friendly option. They are full-cover tips that you apply the Polygel onto before placing it on your nail. They act as both a mold and the final surface.
3. LED/LUV Nail Lamp: This is non-negotiable. Polygel will not harden without being cured under a UV or LED lamp. LED lamps are typically faster.
4. Slip Solution or Rubbing Alcohol: This is a crucial liquid used to prevent the Polygel from sticking to your tools and hands. It makes the gel smooth and workable. Some brands offer a specific slip solution, but 70%+ isopropyl alcohol works in a pinch.
5. Nail Prep Products:
- Nail File & Buffer (180/240 grit): For shaping and roughening the nail surface.
- Cuticle Pusher & Nippers: For meticulous cuticle care.
- Lint-Free Wipes: For cleaning the nail plate.
- Nail Dehydrator & Primer: These two products are the secret to long-lasting nails that don’t pop off. Dehydrator removes moisture and oil, while primer (often acid-free) creates a strong bond between the natural nail and the Polygel.
6. Application Tools:
- A Polygel Scoop or Orange Wood Stick: To get the product out of the tube.
- A Slider or Metal Cuticle Pusher: Your main tool for shaping and spreading the Polygel.
7. Top Coat and Base Coat: Always use a gel base coat and a gel top coat designed for this system. They are essential for a sealed, durable, and shiny finish.
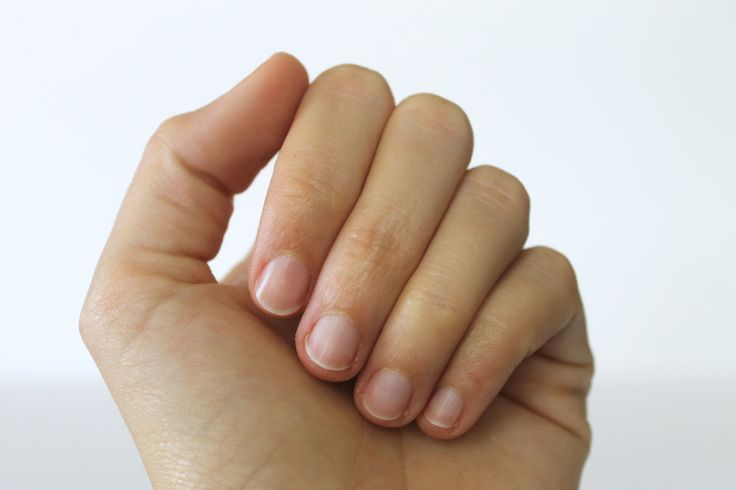
Part 2: The Foundation: Prepping Your Natural Nails
This is the most critical step. Proper prep ensures your Polygel manicure lasts for weeks without lifting or chipping. Do not rush this.
Step 1: Clean and Shape
Start with completely bare nails—no old polish. Gently push back your cuticles. Then, using your nail file, lightly buff the entire surface of your natural nail. You aren’t trying to file it down; you are simply removing the shiny top layer to create a rough texture that helps the product adhere. This creates “grip.” After buffing, wipe each nail with a lint-free pad soaked in dehydrator to remove all dust and oils.
Step 2: Prime for Perfection
Apply a thin layer of primer to each nail. The primer will dry quickly, leaving a slightly tacky or matte surface. This is what creates an unbreakable bond. Let it dry completely according to the product instructions.
Step 3: Apply Base Coat
Apply a single, thin layer of your gel base coat to each nail, making sure to cap the free edge. Cure it under your LED lamp for the recommended time (usually 30-60 seconds). Your nails are now perfectly prepped and ready for the Polygel.

Part 3: The Application Tutorial (Using Dual Forms)
This method is highly recommended for beginners.
Step 1: Size Your Dual Forms
Before applying any product, select the correct dual form for each nail. It should fit the width of your natural nail perfectly, without overlapping the sidewalls.
Step 2: Dispense and Place
Take a small scoop of Polygel—start with less than you think you need; you can always add more. Place a bead of product towards the center of the dual form, slightly closer to the cuticle area.
Step 3: Spread and Shape
Dip your slider tool into your slip solution. Use the tool to gently spread the Polygel across the dual form, covering the entire area from the cuticle to the free edge. Create a smooth, even layer that is thicker in the stress area (the center) and tapers thinly towards the cuticle and sides. The slip solution will prevent sticking and allow you to create a seamless surface.
Step 4: Apply and Cure
Now, carefully place the loaded dual form onto your prepped nail at a 45-degree angle. Press down firmly from the cuticle to the tip, squeezing out any excess product. Wipe away the excess Polygel that squeezes out from the sides with your tool. Ensure the form is seated correctly without any air bubbles. Hold it steady and cure it under your lamp for the full recommended time (often 60 seconds for LED lamps).
Step 5: Remove the Form and Reveal
After curing, the Polygel will be hard. Gently flex the dual form back and forth; it should pop right off, revealing a perfectly shaped Polygel nail.
Step 6: Final Touches
You will likely have some excess product (the “flash”) around the edges. Use your 180-grit file to carefully file and shape the nail to your desired style—whether it’s square, oval, or almond. Buff the entire surface to smooth out any filing marks.
Step 7: Seal with Shine
Apply a final, thin layer of gel top coat, capping the free edge once more. Cure for the final time under your lamp. Wipe with a lint-free pad soaked in alcohol to remove the sticky inhibition layer and reveal a stunning, high-gloss shine.
And there you have it! With a little practice, Polygel allows you to create strong, beautiful, and long-lasting nails from the comfort of your home. It’s a forgiving, versatile product that empowers you to be your own nail artist.
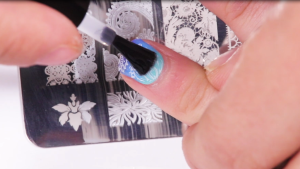
Read also: Nail Stamping: 5 Mistakes to Avoid