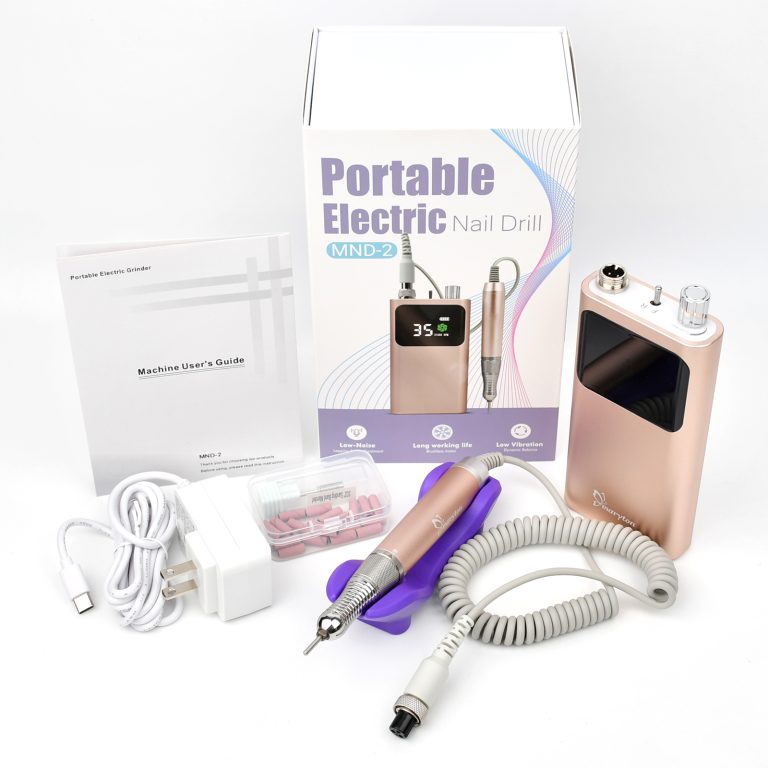

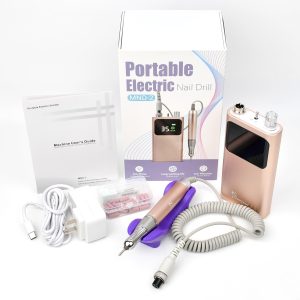

Think of your electric nail drill as the high-tech toothbrush for your nails – it’s not essential for everyone every day, but for achieving truly professional-looking, healthy, and long-lasting nail treatments (whether at home or in the salon), it’s an absolute game-changer. This little power tool, with its spinning bits, tackles tasks that files and buffers simply can’t match efficiently or precisely. Let’s break down its main superpowers and exactly how to use them safely and effectively:
1. Prepping the Natural Nail: The Crucial Foundation
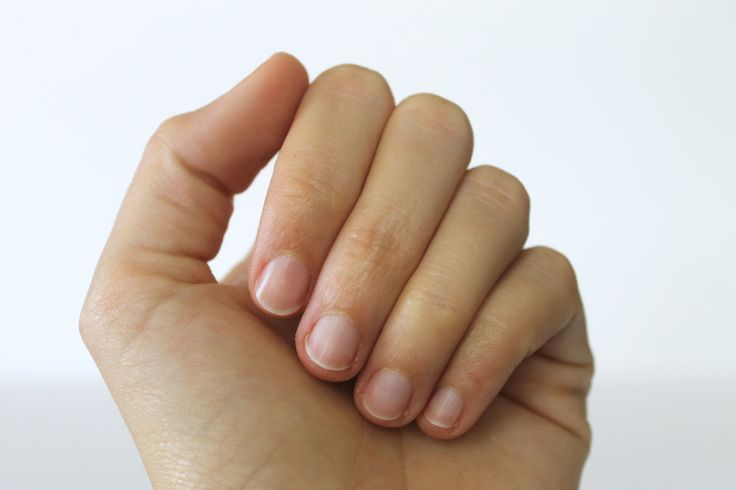
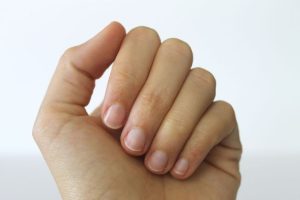
The “Why”: Before applying any enhancement (gel, acrylic, dip) or even a super smooth regular polish manicure, your natural nail plate needs to be prepped. This means gently removing the invisible, oily top layer (the shine) so products adhere properly and don’t lift prematurely. It also involves cleaning up the edges and surface for a flawless base.
The “How”:
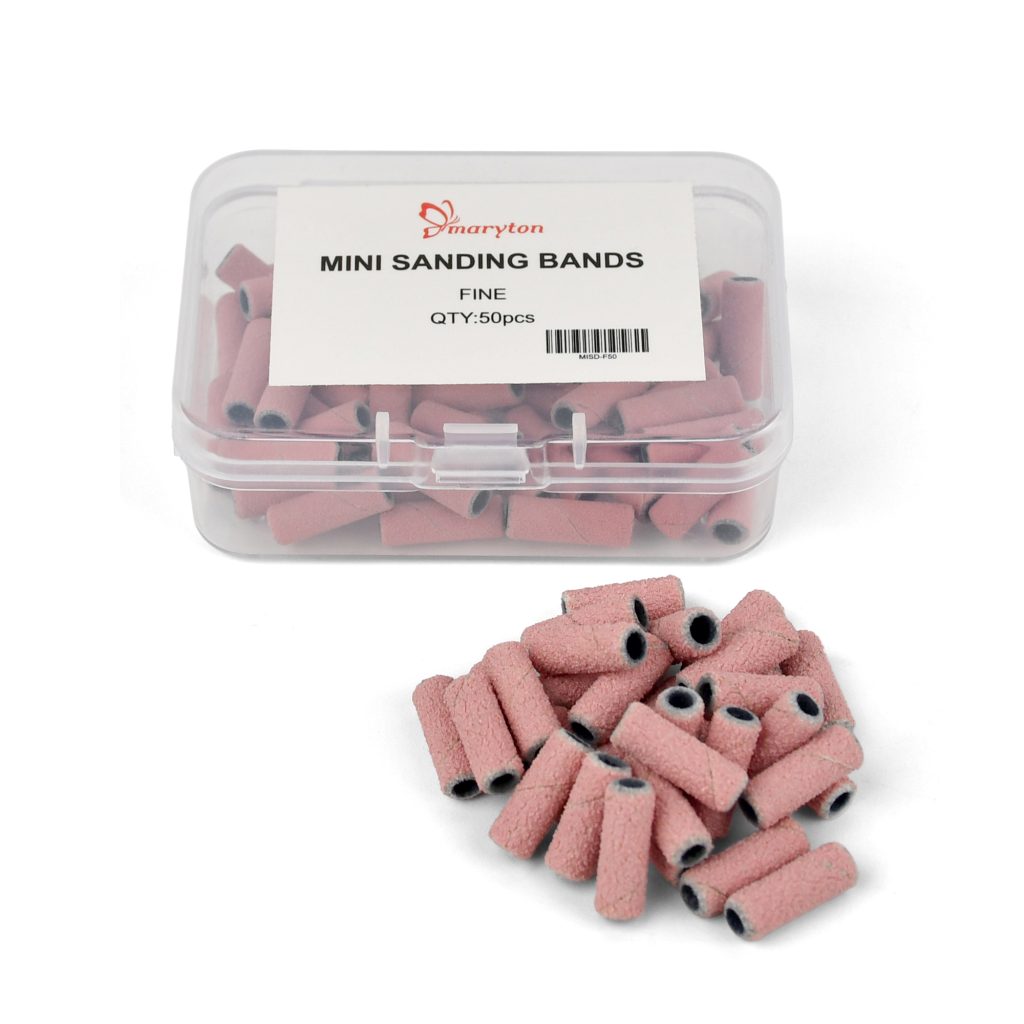
- Bit: Use a fine/medium grit sanding band (like a 180 grit) or a fine grit ceramic bit.
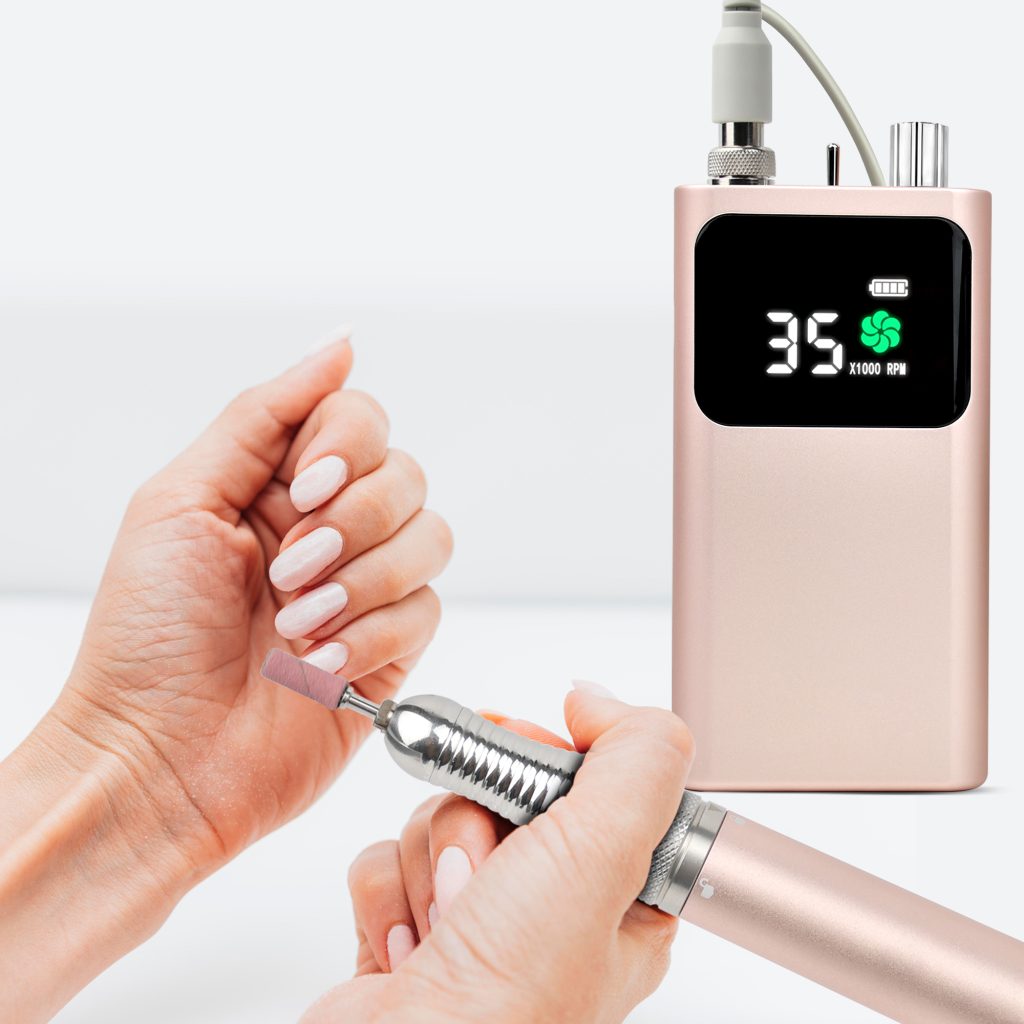
- Speed: Keep it LOW to MEDIUM (around 5,000 – 10,000 RPM). High speed is unnecessary and risky.
- Technique: Lightly skim the surface of your natural nail in one direction (usually side-to-side or tip-to-cuticle), like you’re gently erasing the shine. Avoid pressing down or staying in one spot. Focus on the center of the nail, avoiding the delicate cuticle area and sidewalls. The goal is a lightly matte finish, not deep grooves. For the free edge, use the side of the bit to gently smooth any roughness.
- Safety First: Too much pressure or high speed will thin and weaken your natural nail painfully. Keep movements light and controlled.
2. Cuticle Care & Cleanup: Precision Perfected
The “Why”: Neat, tidy cuticles are essential for a polished look and healthy nail growth. Drills make removing excess, non-living cuticle tissue (the proximal fold that grows onto the nail plate) and cleaning up the sidewalls (eponychium) much faster and more precise than nippers or pushers alone.
The “How”:
- Bit: Use a small, rounded carbide bit (often flame-shaped or cone-shaped) specifically designed for cuticles. Never use coarse bits here!
- Speed: VERY LOW (around 3,000 – 8,000 RPM max). Cuticle skin is delicate.
- Technique: Apply cuticle remover first and gently push back the cuticle with a wooden stick. Only then use the drill. Hold the bit almost parallel to the nail plate. Use the side or rounded tip of the bit to gently flick away tiny bits of dead, loose cuticle tissue clinging to the nail plate, working around the lunula (half-moon). Use tiny, feather-light touches – let the bit do the work. Focus solely on the tissue on the nail, not the living skin behind it. For sidewalls, use the tip gently to define the edge.
- Safety First: This requires extreme caution and a steady hand. Apply zero pressure. If you feel resistance or see redness, STOP immediately. Hydrate cuticles well afterward.
3. Shaping & Refining Enhancements (Gel/Acrylic/Dip): Sculpting Mastery
The “Why”: After applying gel, acrylic, or dip powder, the material needs to be shaped, smoothed, and contoured perfectly. Filing this hard material by hand is slow and tiring. The drill makes it effortless and allows for incredible precision in creating the desired shape (square, coffin, almond, stiletto) and smoothing the surface before the final buffing/polishing step.
The “How”:
Bit: Start with a medium grit carbide bit (like a cylinder or tapered cone) for bulk reduction and shaping. Switch to a fine grit sanding band, fine grit carbide bit, or ceramic bit for refining and smoothing.
Speed: MEDIUM for bulk removal/shaping (15,000 – 20,000 RPM). LOW to MEDIUM for refining/smoothing (10,000 – 15,000 RPM).
Technique:
- Bulk Reduction/Shape: Use the side of a medium carbide bit to shorten the free edge and establish the basic shape (e.g., filing corners square or rounding for oval). Move the bit continuously; don’t dig in. Keep the bit moving along the edge.
- Refining & Smoothing: Switch to a finer bit. Use light pressure and controlled movements to smooth out any bumps, ridges, or file marks on the surface and edges of the enhancement. Refine the shape details. Aim for an even, smooth surface.
Safety First: Be mindful of heat buildup – high speed + pressure = friction heat, which can burn the nail bed underneath. Use brief touches and lower speeds. Constantly check the shape and symmetry. Avoid touching the natural nail near the cuticle.
4. Filling & Removing Enhancements: The Gentle Take-Down
The “Why”: As gel or acrylic grows out, you need to “fill” the gap near the cuticle. This involves thinning down the existing enhancement over the natural nail (the “regrowth” area) and removing any lifting product before applying new product. Drills make this infinitely faster and more controlled than manual filing. They are also the primary tool for safely removing enhancements without soaking for hours or aggressive scraping.
The “How”:
Bit: A medium grit carbide bit (often a barrel or taper) is standard for bulk removal. A fine grit bit or sanding band is used for final thinning and smoothing near the natural nail.
Speed: MEDIUM to HIGH (15,000 – 25,000 RPM) for bulk removal over the enhancement only. LOW to MEDIUM (5,000 – 15,000 RPM) when working near the cuticle or thinning over the natural nail.
Technique:
- Bulk Removal (Take-Down): Use a medium carbide bit to remove the bulk of the color/gel polish or acrylic/dip from the surface, working down until you see the natural enhancement layer underneath. Avoid the natural nail!
- Thinning the Regrowth Area: Switch to a finer bit. Over the natural nail area where the enhancement sits, gently and evenly thin down the existing gel/acrylic layer until it’s very thin and flush with the natural nail growth. The goal is to remove the bulk and any lifting, leaving a thin, smooth layer to build upon.
- Targeting Lifting: Use the tip of a fine bit or a specialized cut-out bit to gently remove product that has lifted away from the natural nail plate, cleaning out the pocket.
Safety First: This is the riskiest task. NEVER drill directly onto your bare natural nail plate to remove product – you must leave a thin layer and remove the rest with acetone soaking (for gels/dip) or file manually once thin. Drilling directly on the natural nail causes severe thinning, heat damage, and pain. Extreme caution near the cuticle and sidewalls is paramount.
Your Drill = Your Nail Ally
Mastering your electric nail drill unlocks a new level of nail care precision and efficiency. Remember the golden rules: Start SLOW, use LOW pressure, choose the RIGHT bit for the job, and prioritize safety above all else. Practice on fake tips before working on real nails, keep your bits clean, and always hydrate nails and cuticles afterward. With respect and practice, this powerful little tool will become your indispensable partner for achieving salon-perfect nails, every single time. Happy drilling!
Read also: Why Your Next Pedicure Should Use a Disposable Kit: A Podiatrist’s Perspective